Apex Beach Hotel Screenshots: Difference between revisions
MelvinMan10 (talk | contribs) |
MelvinMan10 (talk | contribs) mNo edit summary |
||
| Line 3: | Line 3: | ||
==Complex overview== | ==Complex overview== | ||
[[File:ABHExterior.png| | [[File:ABHExterior.png|500px]]<br> | ||
The exterior of the [[Apex Beach Hotel]] complex | The exterior of the [[Apex Beach Hotel]] complex | ||
==Monica Beach Wing== | ==Monica Beach Wing== | ||
[[File:ABH - MBW Main Elevator Lobby.jpg| | ===Lobby and atrium=== | ||
[[File:ABH - MBW Main Elevator Lobby.jpg|500px]]<br> | |||
Main elevator lobby for Monica Beach Wing's hotel elevators | Main elevator lobby for Monica Beach Wing's hotel elevators | ||
[[File:ABH - MBW Atrium View 1.jpg|250px]][[File:ABH - MBW Atrium View 2.jpg|250px]]<br> | |||
[[File:ABH - MBW Atrium View 1.jpg| | |||
[[File:ABH - MBW Atrium View 2.jpg| | |||
Atrium, as viewed from the 2nd floor lobby | Atrium, as viewed from the 2nd floor lobby | ||
[[File:ABH - MBW South Lobby Elevator.jpg| | ===Elevators=== | ||
[[File:ABH - MBW South Lobby Elevator Inside.jpg| | [[File:ABH - MBW South Lobby Elevator.jpg|250px]][[File:ABH - MBW South Lobby Elevator Inside.jpg|250px]][[File:ABH - MBW North Lobby Elevator.jpg|250px]][[File:ABH - MBW North Lobby Elevator Inside.jpg|250px]]<br> | ||
[[File:ABH - MBW North Lobby Elevator.jpg| | |||
[[File:ABH - MBW North Lobby Elevator Inside.jpg| | |||
The lobby elevators, serving floors 1-3 | The lobby elevators, serving floors 1-3 | ||
[[File:ABH - MBW Hotel Floor.jpg| | [[File:ABH - MBW Main Elevator Inside.jpg|500px]]<br> | ||
Interior view of one of the main passenger elevators | |||
===Hotel levels=== | |||
[[File:ABH - MBW Hotel Floor.jpg|500px]]<br> | |||
Elevator lobby on one of the hotel floors (floor 10) | Elevator lobby on one of the hotel floors (floor 10) | ||
[[File:ABH - MBW Hotel Room.jpg| | [[File:ABH - MBW Hotel Room.jpg|500px]]<br> | ||
Interior of one of the hotel rooms (room 21001) | Interior of one of the hotel rooms (room 21001) | ||
[[File:ABH - MBW Event Area Lobby.jpg| | ===17th floor event area=== | ||
[[File:ABH - MBW Event Area Lobby.jpg|500px]]<br> | |||
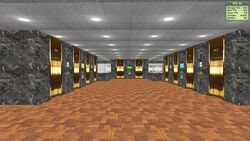
Event area elevator lobby | Event area elevator lobby | ||
[[File:ABH - MBW Event Area View 1.jpg| | [[File:ABH - MBW Event Area View 1.jpg|250px]][[File:ABH - MBW Event Area View 2.jpg|250px]][[File:ABH - MBW Event Area View 3.jpg|250px]][[File:ABH - MBW Event Area View 4.jpg|250px]]<br> | ||
[[File:ABH - MBW Event Area View 2.jpg| | |||
[[File:ABH - MBW Event Area View 3.jpg| | |||
[[File:ABH - MBW Event Area View 4.jpg| | |||
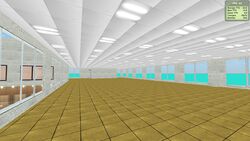
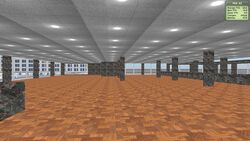
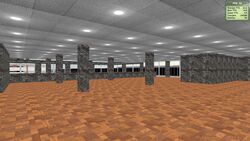
The 17th floor event area | The 17th floor event area | ||
[[File:ABH - MBW Service Elevator Lobby.jpg| | ===Service elevators and roof=== | ||
Service elevator lobby | [[File:ABH - MBW Service Elevator Lobby.jpg|250px]][[File:ABH - MBW Service Elevator Inside.jpg|250px]]<br> | ||
(Left) Service elevator lobby <br> | |||
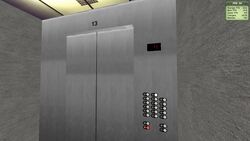
(Right) Interior of one of the service elevators | |||
[[File:ABH - MBW Rooftop.jpg|500px]]<br> | |||
[[File:ABH - MBW Rooftop.jpg| | |||
Rooftop (19th floor) of the Monica Beach Wing | Rooftop (19th floor) of the Monica Beach Wing | ||
==Bridge linking Monica Beach Wing and Sapphire Sea Tower== | ==Bridge linking Monica Beach Wing and Sapphire Sea Tower== | ||
[[File:ABH - North Bridge Elevator 1st Floor.jpg| | ===Monica (North) side=== | ||
The 1st floor of the North Bridge elevator | [[File:ABH - North Bridge Elevator 1st Floor.jpg|250px]][[File:ABH - North Bridge Elevator Inside.jpg|250px]]<br> | ||
(Left) The 1st floor of the North Bridge elevator<br> | |||
(Right) Interior of the North Bridge elevator | |||
[[File:ABH - North Bridge Elevator | [[File:ABH - North Bridge Elevator 2nd Floor.jpg|250px]][[File:ABH - North Bridge Elevator 3rd Floor.jpg|250px]]<br> | ||
(Left) The 2nd floor of the North Bridge elevator. To the right is the Monica Beach Wing 2nd floor entrance<br> | |||
(Right) The 3rd floor of the North Bridge elevator. Across the bridge is the lobby entrance to the Sapphire Sea Tower and South Bridge elevator | |||
[[File:ABH - | ===Sapphire (South) side=== | ||
The | [[File:ABH - South Bridge Elevator 1st Floor.jpg|250px]][[File:ABH - South Bridge Elevator Inside.jpg|250px]]<br> | ||
(Left) The 1st floor of the South Bridge elevator<br> | |||
(Right) Interior of the South Bridge elevator | |||
[[File:ABH - South Bridge Elevator 3rd Floor.jpg|500px]]<br> | |||
[[File:ABH - South Bridge Elevator 3rd Floor.jpg| | |||
The 3rd floor of the South Bridge elevator | The 3rd floor of the South Bridge elevator | ||
==Sapphire Sea Tower== | ==Sapphire Sea Tower== | ||
[[File:ABH - SST Main Elevator Lobby.jpg| | ===Hotel elevators=== | ||
[[File:ABH - SST Main Elevator Lobby.jpg|500px]]<br> | |||
Sapphire Sea Tower's hotel elevator lobby | Sapphire Sea Tower's hotel elevator lobby | ||
[[File:ABH - SST Low-Rise Elevator Inside.jpg| | [[File:ABH - SST Low-Rise Elevator Inside.jpg|250px]][[File:ABH - SST High-Rise Elevator Inside.jpg|250px]]<br> | ||
Interior view of one of the low-rise elevators serving floors 5-23 | (Left) Interior view of one of the low-rise elevators serving floors 5-23<br> | ||
(Right) Interior view of one of the high-rise elevators serving floors 24-42 | |||
Interior view of one of the high-rise elevators serving floors 24-42 | |||
[[File:ABH - SST Express Elevator Inside.jpg| | ===Express elevators=== | ||
[[File:ABH - SST Express Elevator Outside.jpg| | [[File:ABH - SST Express Elevator Inside.jpg|250px]][[File:ABH - SST Express Elevator Outside.jpg|250px]]<br> | ||
Interior views of one of the express elevators | Interior views of one of the express elevators | ||
[[File:ABH - SST Lobby Elevators.jpg| | ===Lobby elevators=== | ||
[[File:ABH - SST Lobby Elevators.jpg|500px]]<br> | |||
Lobby elevators serving floors 1-4 | Lobby elevators serving floors 1-4 | ||
[[File:ABH - SST Lobby Elevator Inside.jpg| | [[File:ABH - SST Lobby Elevator Inside.jpg|500px]]<br> | ||
Interior view of one of the lobby elevators | Interior view of one of the lobby elevators | ||
[[File:ABH - SST 1st Floor View 1.jpg| | ===1st-2nd floors=== | ||
[[File:ABH - SST 1st Floor View 2.jpg| | [[File:ABH - SST 1st Floor View 1.jpg|250px]][[File:ABH - SST 1st Floor View 2.jpg|250px]]<br> | ||
[[File:ABH - SST 1st Floor View 3.jpg| | [[File:ABH - SST 1st Floor View 3.jpg|250px]][[File:ABH - SST 1st Floor View 4.jpg|250px]]<br> | ||
[[File:ABH - SST 1st Floor View 4.jpg| | |||
1st floor of the Sapphire Sea Tower | 1st floor of the Sapphire Sea Tower | ||
[[File:ABH - SST 2nd Floor View 1.jpg| | [[File:ABH - SST 2nd Floor View 1.jpg|250px]][[File:ABH - SST 2nd Floor View 2.jpg|250px]]<br> | ||
[[File:ABH - SST 2nd Floor View 2.jpg| | [[File:ABH - SST 2nd Floor View 3.jpg|250px]][[File:ABH - SST 2nd Floor View 4.jpg|250px]]<br> | ||
[[File:ABH - SST 2nd Floor View 3.jpg| | |||
[[File:ABH - SST 2nd Floor View 4.jpg| | |||
2nd floor of the Sapphire Sea Tower | 2nd floor of the Sapphire Sea Tower | ||
[[File:ABH - SST Lobby View 1.jpg| | ===3rd-4th floors=== | ||
[[File:ABH - SST Lobby View 2.jpg| | [[File:ABH - SST Lobby View 1.jpg|250px]][[File:ABH - SST Lobby View 2.jpg|250px]][[File:ABH - SST Lobby View 3.jpg|250px]]<br> | ||
[[File:ABH - SST Lobby View 3.jpg| | |||
Lobby area (3rd floor) of the Sapphire Sea Tower | Lobby area (3rd floor) of the Sapphire Sea Tower | ||
[[File:ABH - SST 4th Floor View 1.jpg| | [[File:ABH - SST 4th Floor View 1.jpg|250px]][[File:ABH - SST 4th Floor View 2.jpg|250px]][[File:ABH - SST 4th Floor View 3.jpg|250px]]<br> | ||
[[File:ABH - SST 4th Floor View 2.jpg| | |||
[[File:ABH - SST 4th Floor View 3.jpg| | |||
4th floor of the Sapphire Sea Tower | 4th floor of the Sapphire Sea Tower | ||
Revision as of 02:07, 24 June 2025
It contains good-faith information, such as an existing building or content. |
Complex overview

The exterior of the Apex Beach Hotel complex
Monica Beach Wing
Lobby and atrium
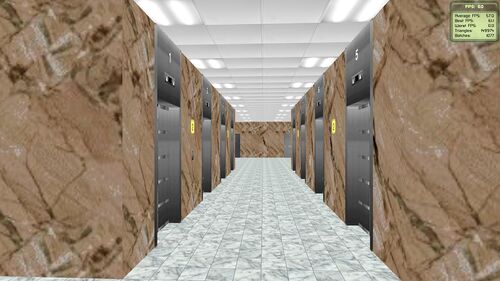
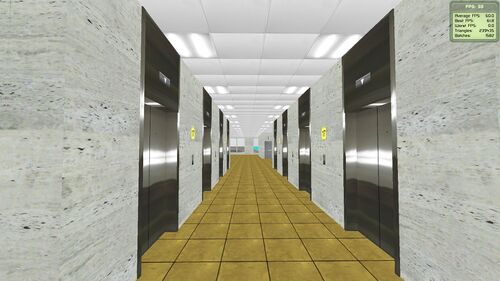
Main elevator lobby for Monica Beach Wing's hotel elevators
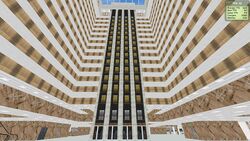
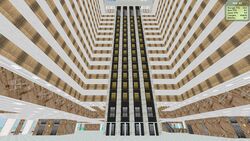
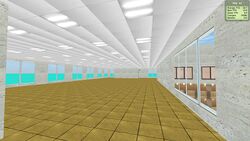
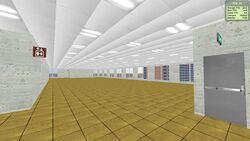
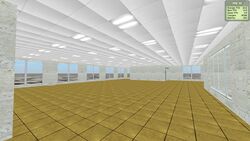
Atrium, as viewed from the 2nd floor lobby
Elevators
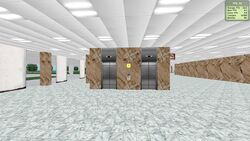
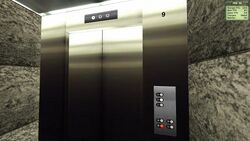
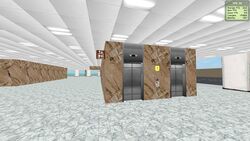
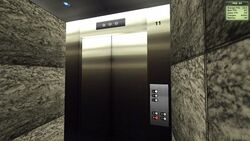
The lobby elevators, serving floors 1-3
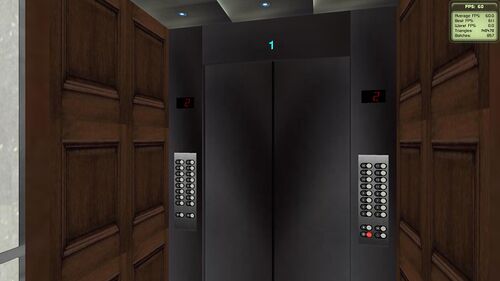
Interior view of one of the main passenger elevators
Hotel levels

Elevator lobby on one of the hotel floors (floor 10)
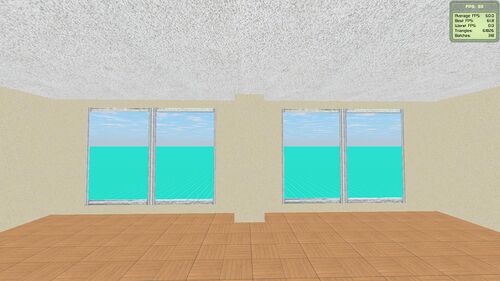
Interior of one of the hotel rooms (room 21001)
17th floor event area
Service elevators and roof
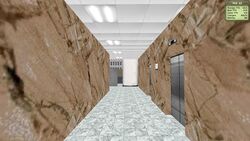
(Left) Service elevator lobby
(Right) Interior of one of the service elevators

Rooftop (19th floor) of the Monica Beach Wing
Bridge linking Monica Beach Wing and Sapphire Sea Tower
Monica (North) side
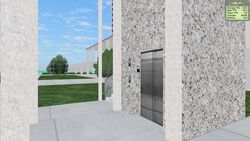
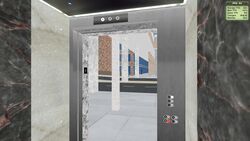
(Left) The 1st floor of the North Bridge elevator
(Right) Interior of the North Bridge elevator
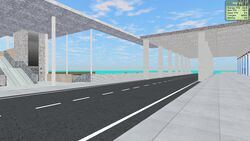
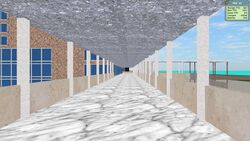
(Left) The 2nd floor of the North Bridge elevator. To the right is the Monica Beach Wing 2nd floor entrance
(Right) The 3rd floor of the North Bridge elevator. Across the bridge is the lobby entrance to the Sapphire Sea Tower and South Bridge elevator
Sapphire (South) side
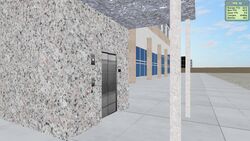
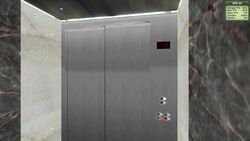
(Left) The 1st floor of the South Bridge elevator
(Right) Interior of the South Bridge elevator
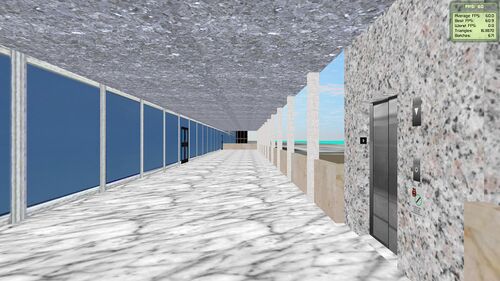
The 3rd floor of the South Bridge elevator
Sapphire Sea Tower
Hotel elevators
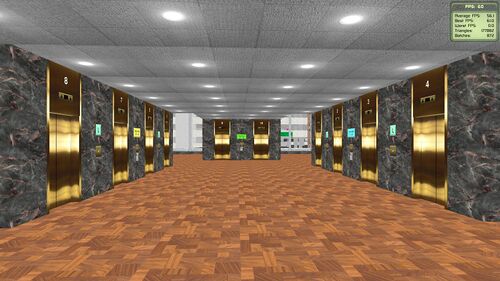
Sapphire Sea Tower's hotel elevator lobby
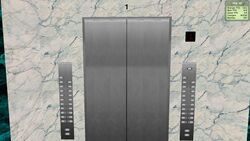
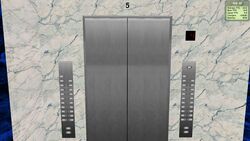
(Left) Interior view of one of the low-rise elevators serving floors 5-23
(Right) Interior view of one of the high-rise elevators serving floors 24-42
Express elevators
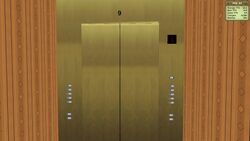
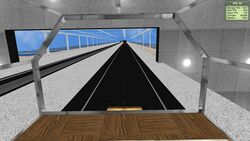
Interior views of one of the express elevators
Lobby elevators
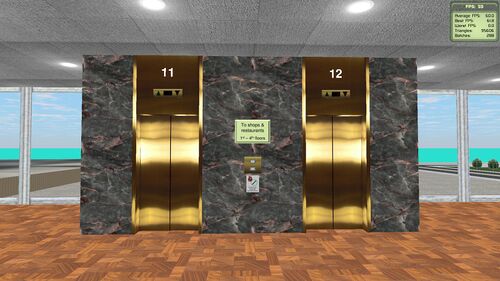
Lobby elevators serving floors 1-4
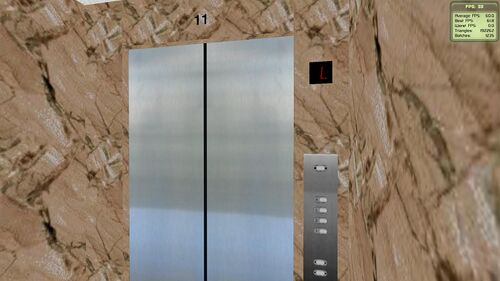
Interior view of one of the lobby elevators
1st-2nd floors
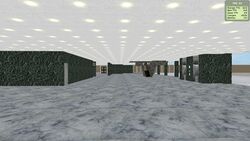
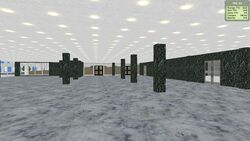
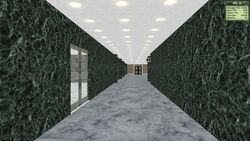
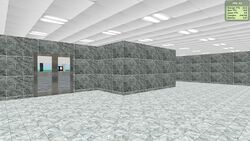
1st floor of the Sapphire Sea Tower
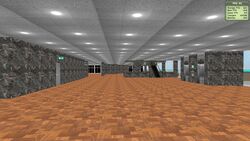
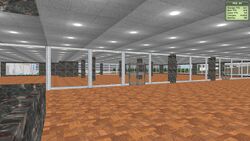
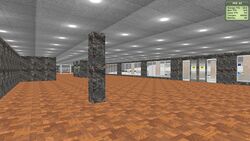
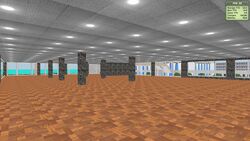
2nd floor of the Sapphire Sea Tower
3rd-4th floors
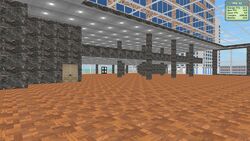
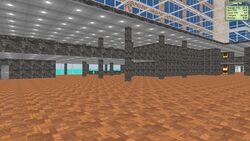
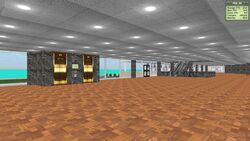
Lobby area (3rd floor) of the Sapphire Sea Tower
